Ingredients
- 4 pounds of fresh plums: Choose ripe, juicy ones for maximum flavor.
- 4 cups of sugar: Jelly needs sugar to set properly, so don’t skimp!
- 1/4 cup of lemon juice: Adds a pop of brightness and helps with setting.
- 1 pouch of liquid pectin: Optional, but useful for ensuring a firm set.
- Water: Just enough to cover the plums while cooking.
Instructions
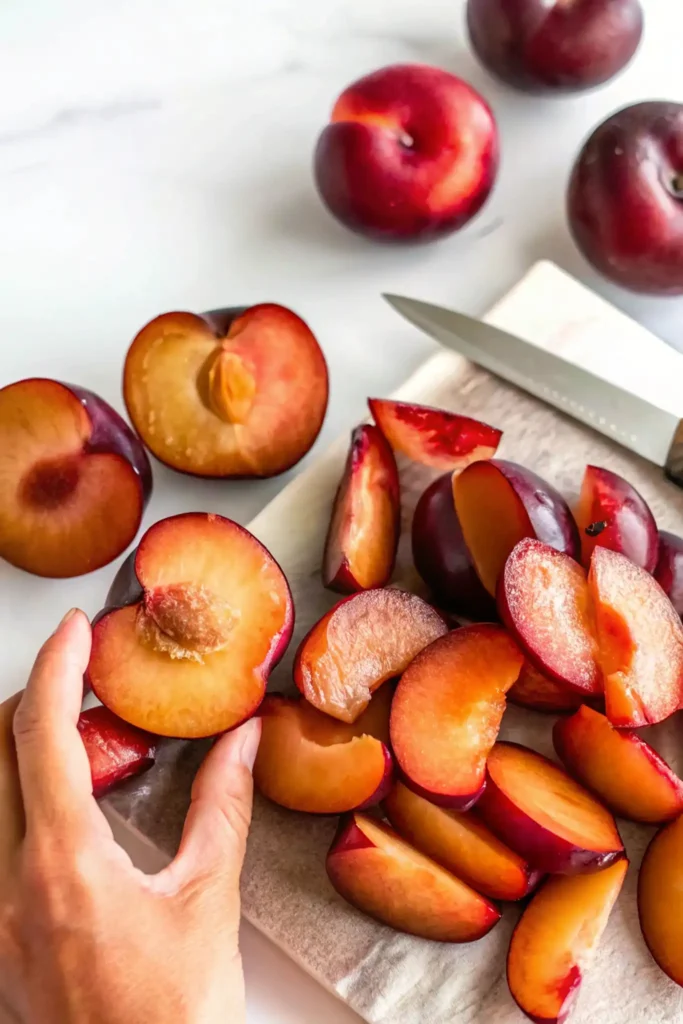
Start by washing the plums thoroughly and patting them dry. No need to peel them—the skins add great flavor and color! Cut the plums in half to remove the pits, then dice the flesh into smaller pieces if you want a smoother jam. For a chunkier jam, leave the pieces larger.
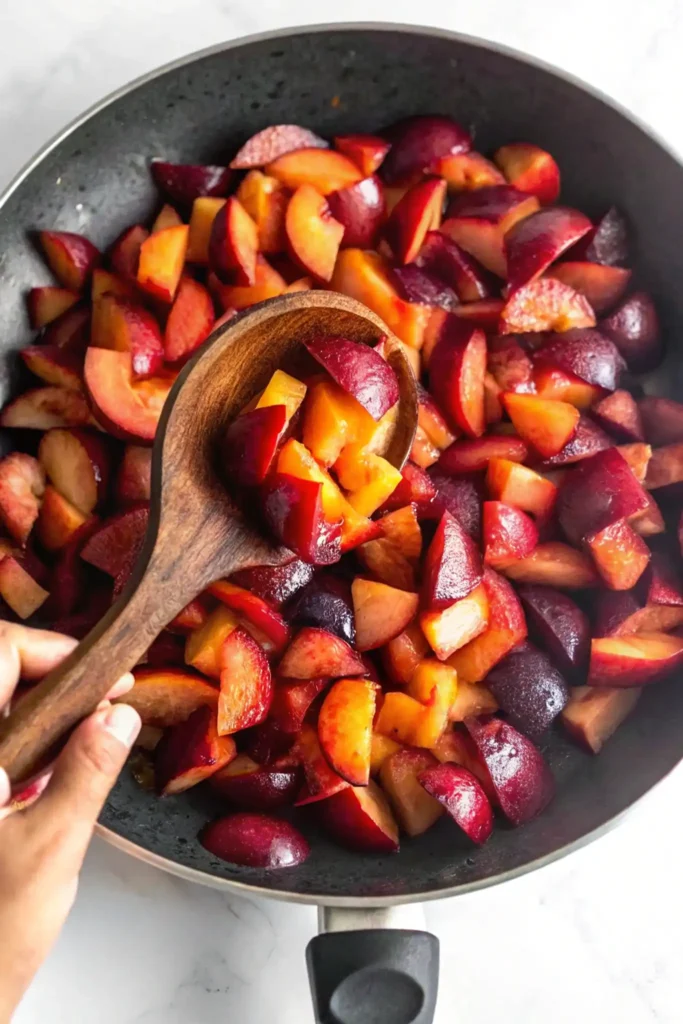
Place the diced plums into a large non-stick skillet, saucepan, or pot. Add just enough water to prevent the fruit from sticking or burning.
Bring the mixture to a full rolling boil, then reduce the heat to medium and let it simmer. Stir occasionally as the plums soften and begin to break down, which usually takes about 15–20 minutes. The aroma at this point is irresistible!
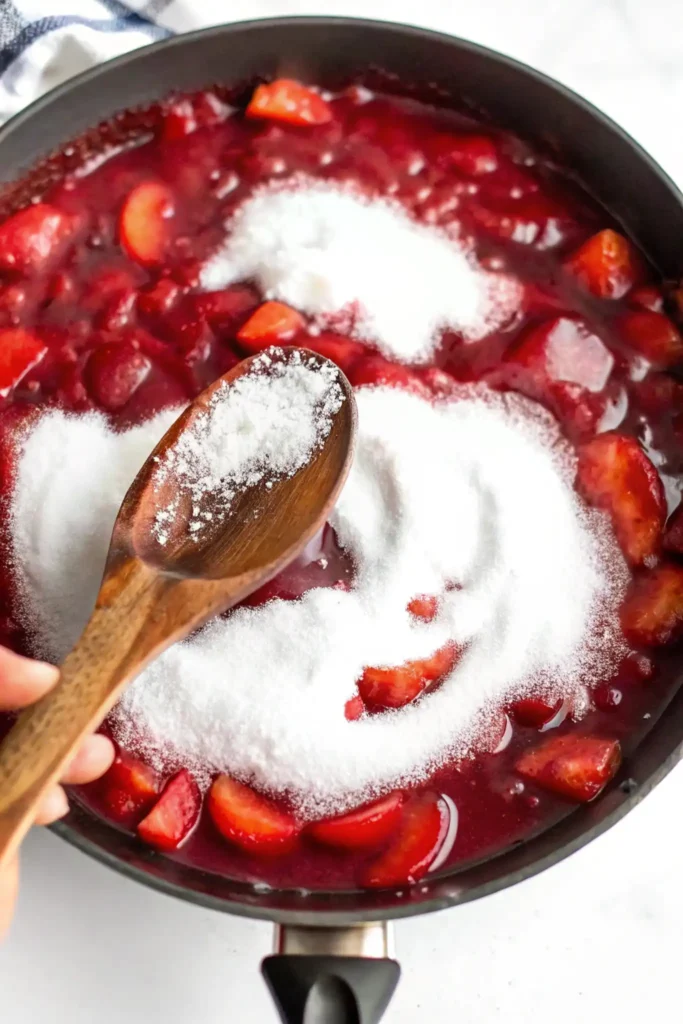
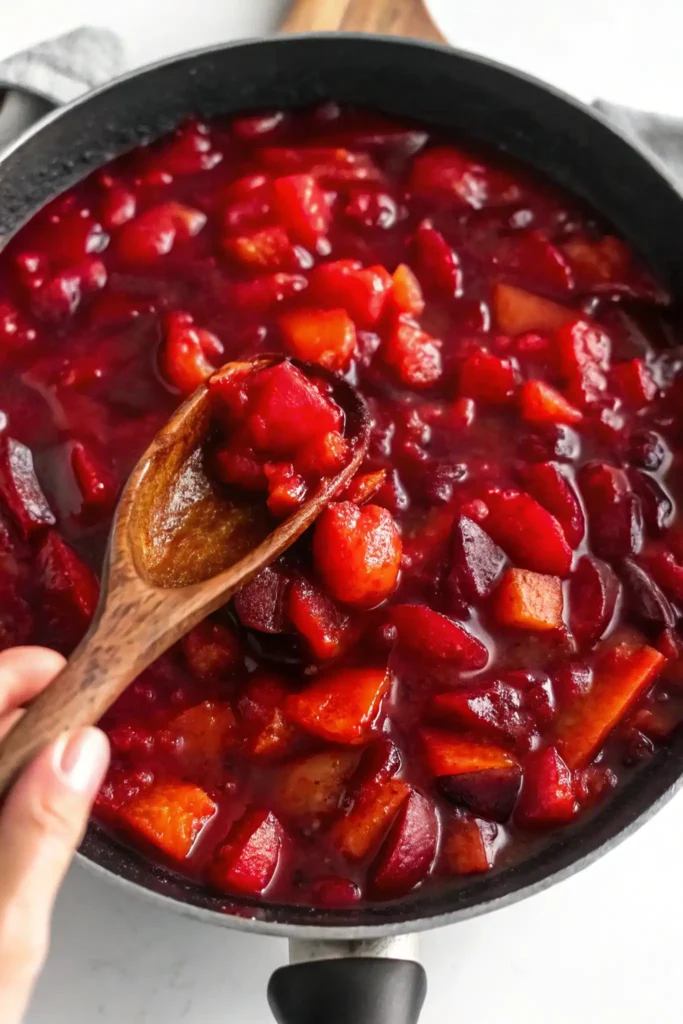
Stir in the fresh lemon juice and sugar. Keep stirring until the sugar completely dissolves—it won’t take long.
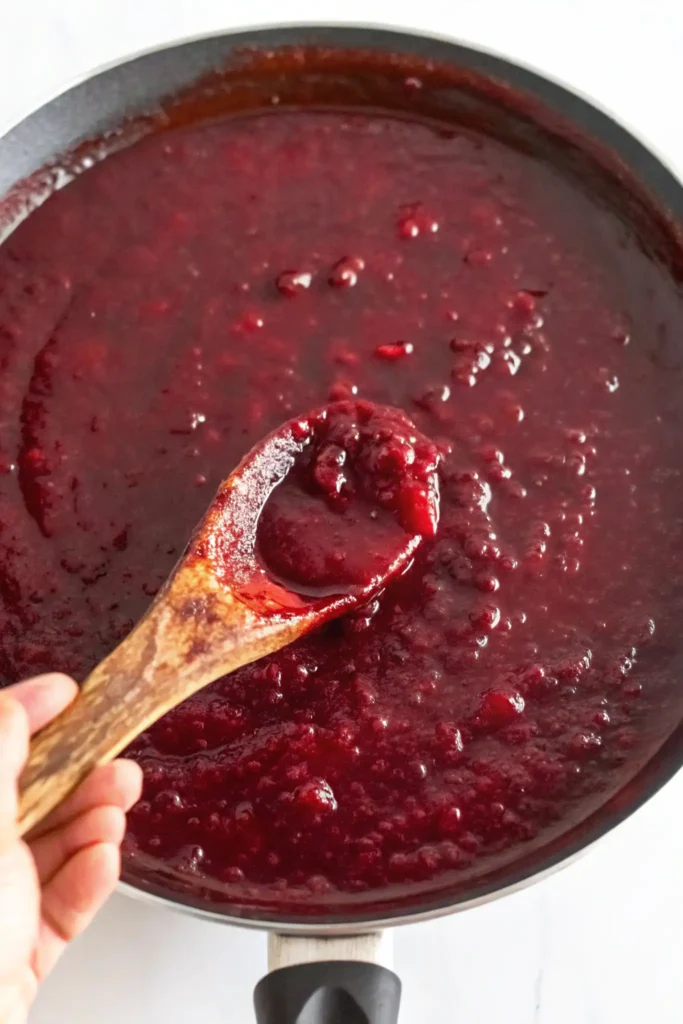
Turn up the heat and bring the mixture to a gentle boil. Let it cook for another 20–30 minutes, stirring often to prevent sticking. If you spot larger chunks of fruit, mash them with the back of a spoon or a potato masher for a smoother texture. The jam is ready when it thickly coats the back of a spoon, or when a candy thermometer reads 220°F. If foam forms on the surface, skim it off for a cleaner finish.
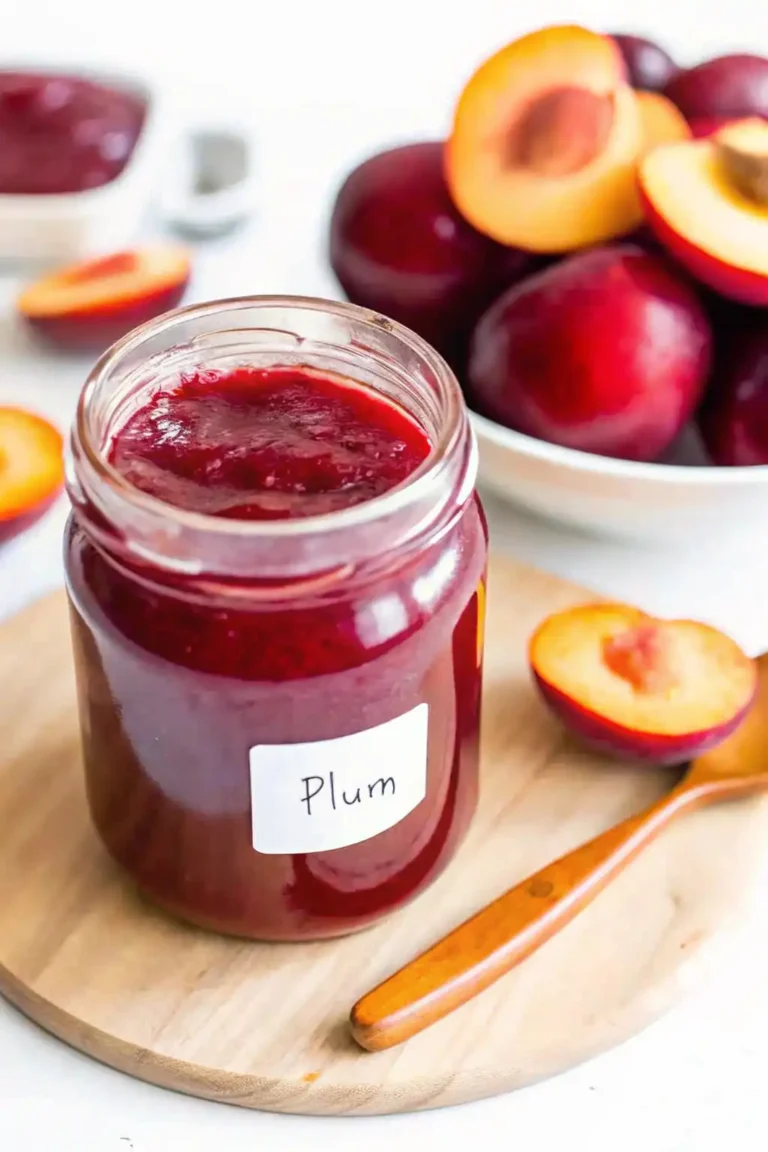
Once the jam is done, let it cool slightly in the skillet—about 10 minutes should do. Carefully transfer it into sterilized glass jars, leaving a bit of space at the top. Wipe the jar rims clean, seal them tightly, and let them cool completely before sto
Notes
- The type of plums you choose can completely transform the flavor and color of your jelly—experiment with different varieties for a unique twist!
- To ensure a smooth, clear jelly, let the plum mixture strain naturally without pressing the pulp—it’s worth the patience.
- Store unopened jars of plum jelly in a cool, dark place for up to a year, and enjoy a taste of summer anytime!
- Prep Time: 15 minutes
- Cook Time: 50 minutes
- Category: Breakfast
- Method: Boiling
- Cuisine: American
- Diet: Gluten Free
Nutrition
- Serving Size: 1 tablespoon
- Calories: 50
- Sugar: 12g
- Sodium: 0mg
- Fat: 0g
- Saturated Fat: 0g
- Unsaturated Fat: 0g
- Trans Fat: 0g
- Carbohydrates: 13g
- Fiber: 0.2g
- Protein: 0g
- Cholesterol: 0mg
Keywords: Plum jelly recipe, homemade plum jelly, easy jelly recipe, sweet and tangy plum jelly, fruit preserves